Pelletfackel – das Feuerrohr zum selber bauen
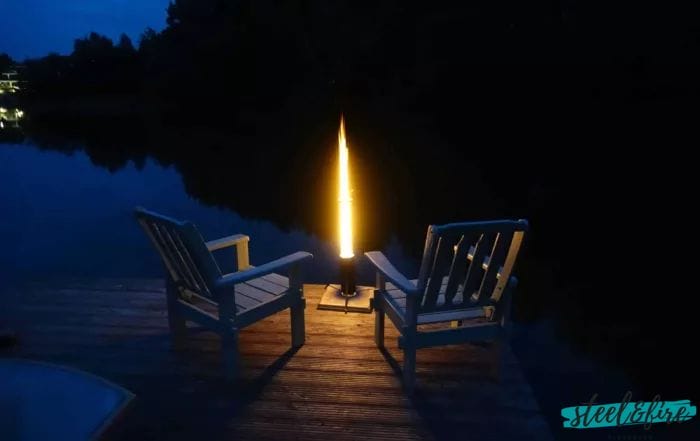
Ein Feuer im Garten zu entzünden ist etwas Herrliches. Der angenehme Geruch, das wundervolle Flammenspiel und gemütliches Knistern lassen den Tag auf tolle Weise ausklingen. Was jedoch, wenn Funkenflug oder dichter Rauch die Entspannung dahinfliegen lassen?
Die Lösung: Eine Pelletfackel, die mit handelsüblichen Holzpellets befeuert wird. Fast ganz ohne Qualm und Funken! Egal ob Grillfest, Hochzeit oder das gemütliche Glas Wein im Garten – die Pelletfackel von Steel & Fire garantieren einen Wow-Effekt. Auch ideal als nachhaltiger Weihnachtsbaum-Ersatz, da Jahr für Jahr wieder nutzbar.
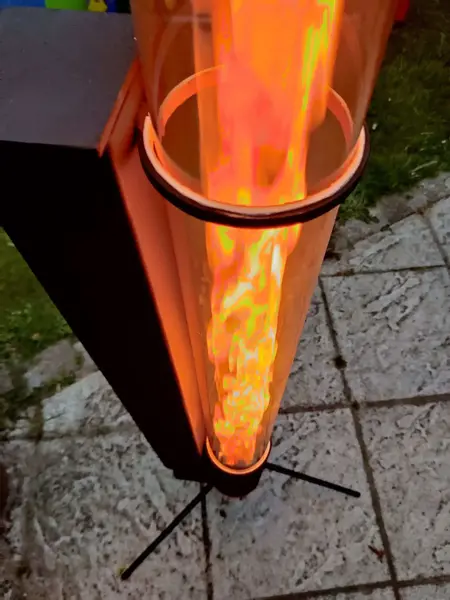
Zur Funktion: Zunächst wird die Pelletfackel mit handelsüblichen Pellets befüllt. Zur Zündung wird unter dem Rost ein Grill Zünder platziert. Nach ca. 10-15 Minuten steigt eine Flamme durch das gesamte Glasrohr und erhellt die Umgebung. Brenndauer ca. 1,5 Stunden mit vollem Pellettank.
Feuerrohr selber bauen: Bauanleitung für Pelletfackel | Materialliste
Achtung: Wenn du den neuen Bausatz hat, dann bist du hier richtig. Das erkennst du daran, dass das 60 x 2 mm Rechteckrohre im Bausatz enthalten sind. Wenn du 80 x 3 mm Rohre
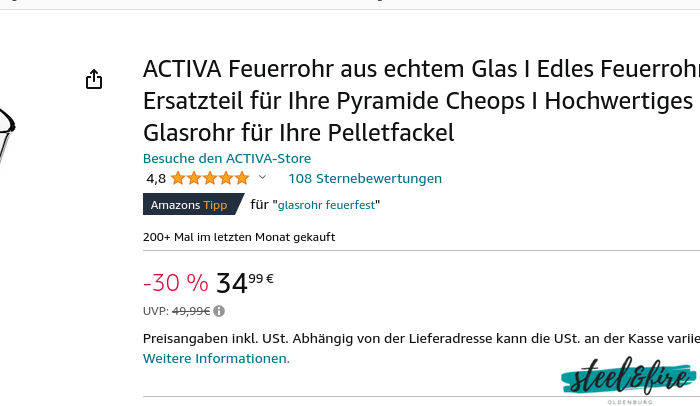
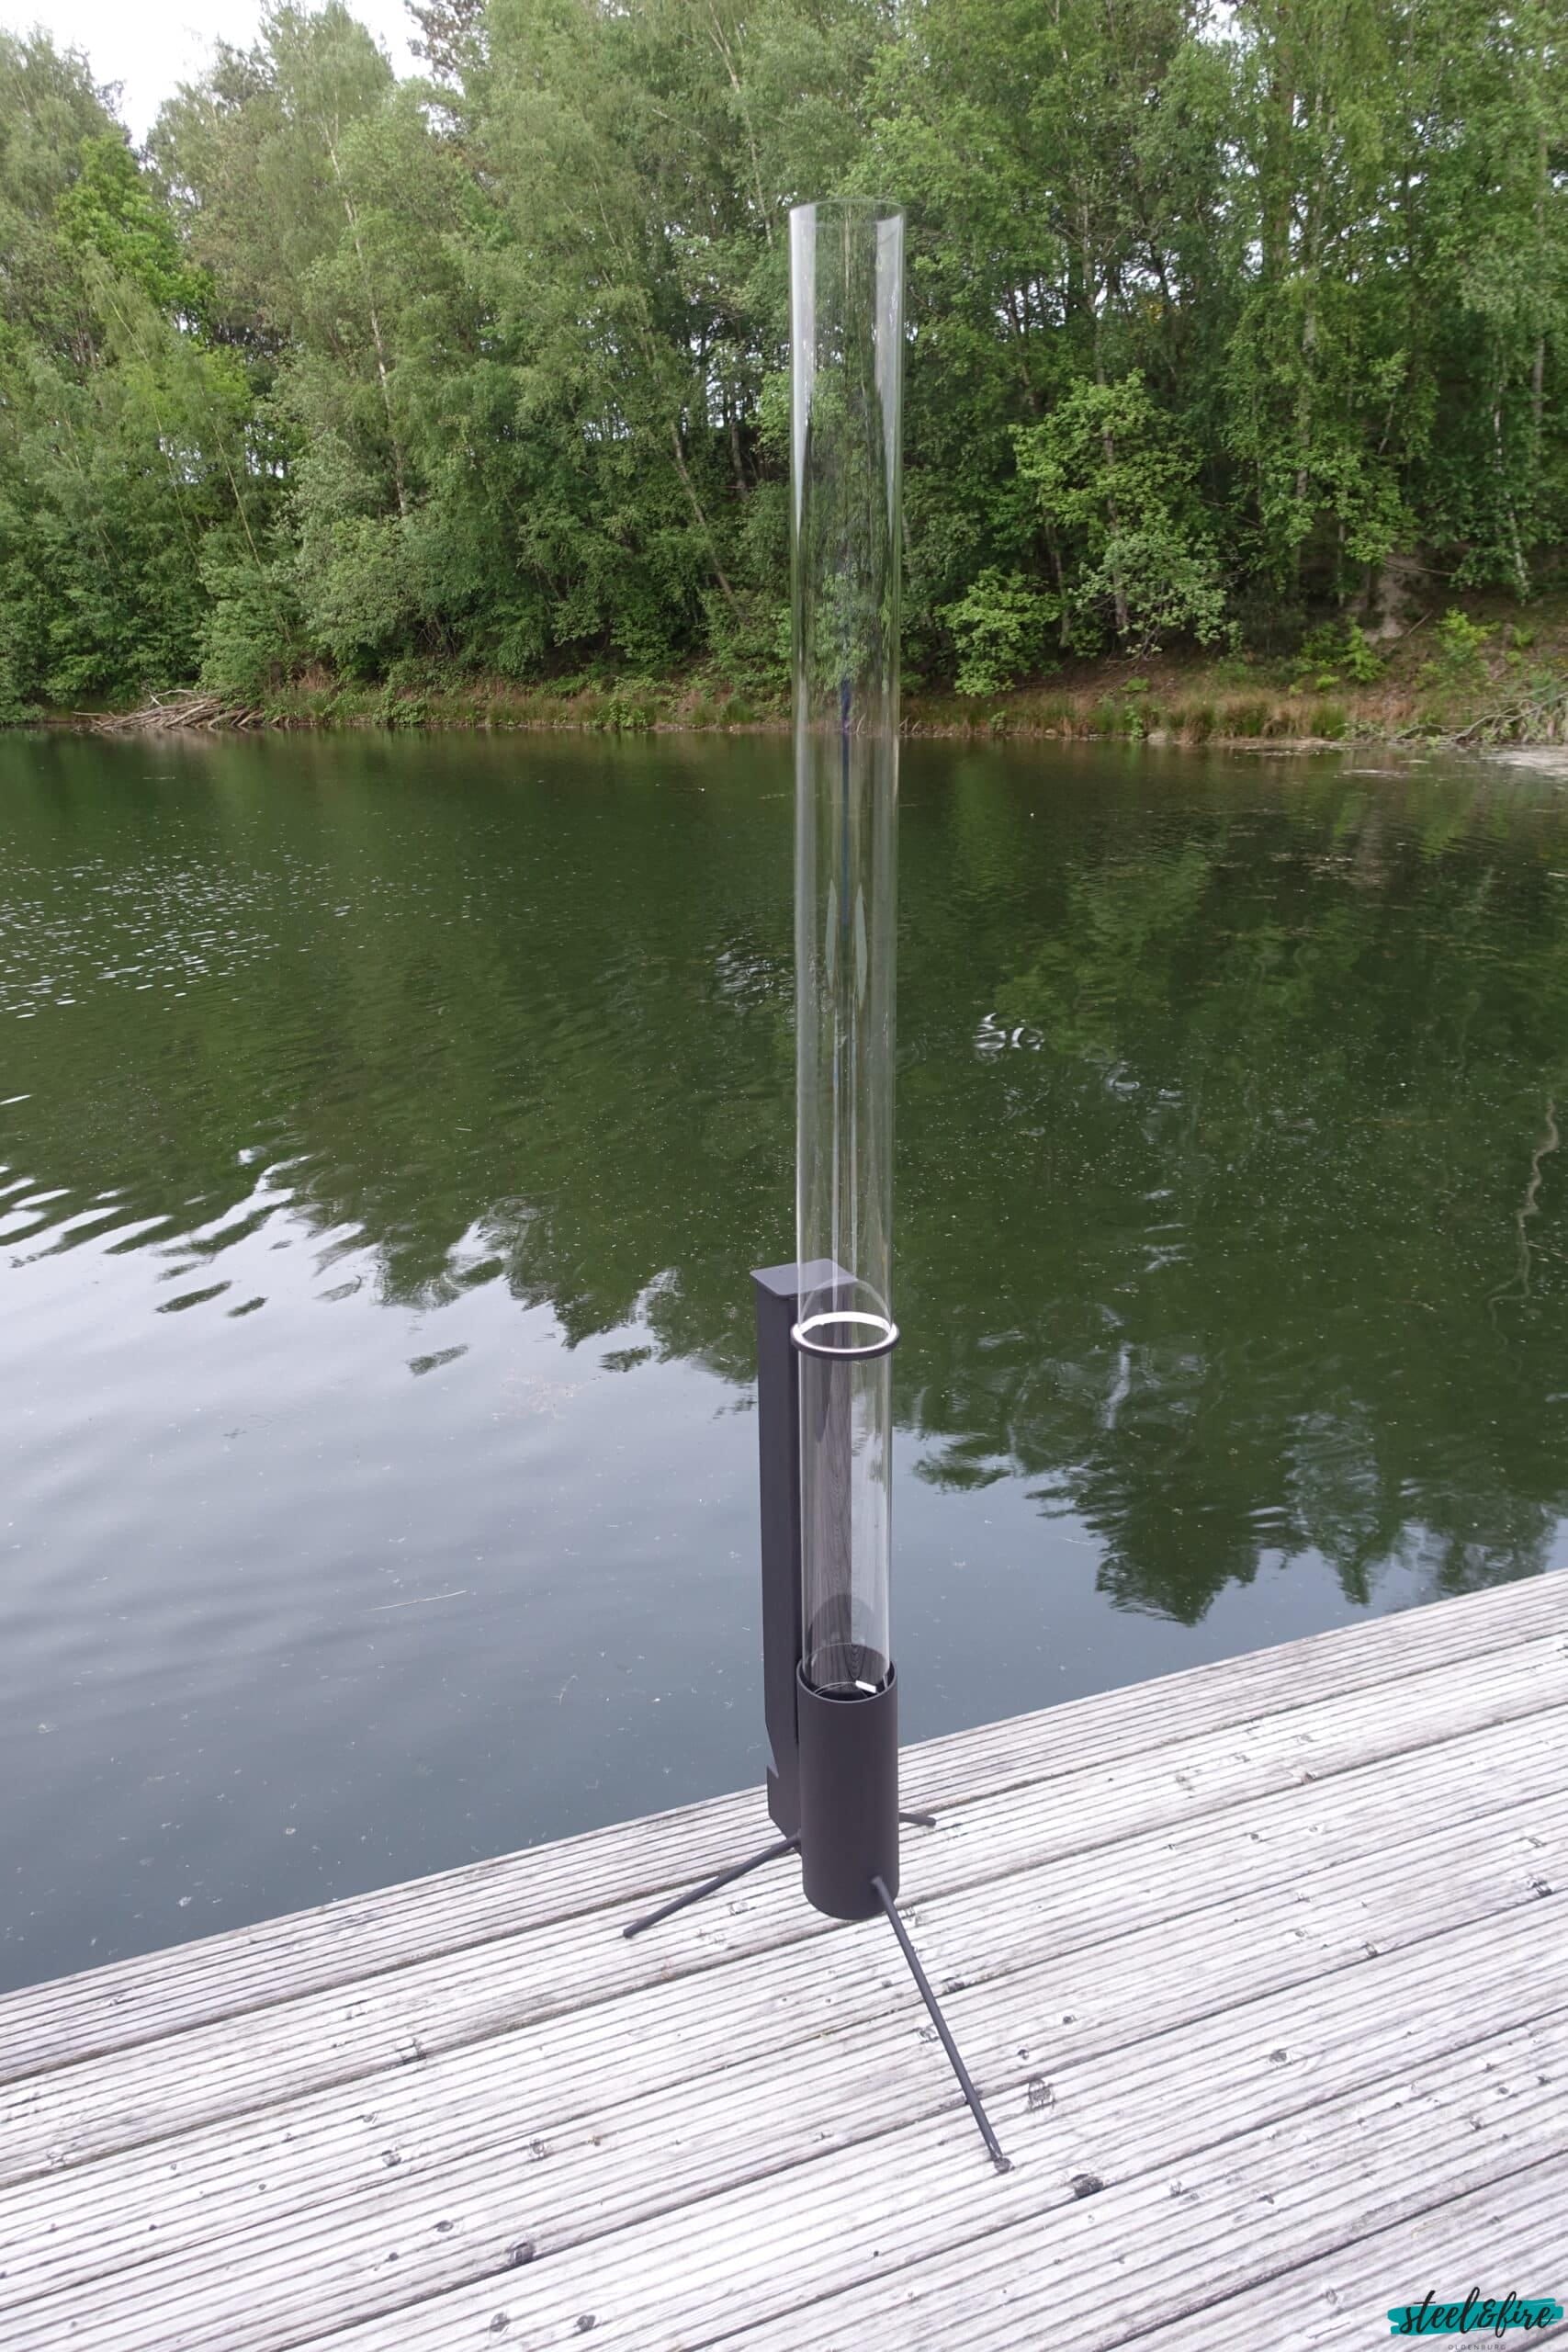
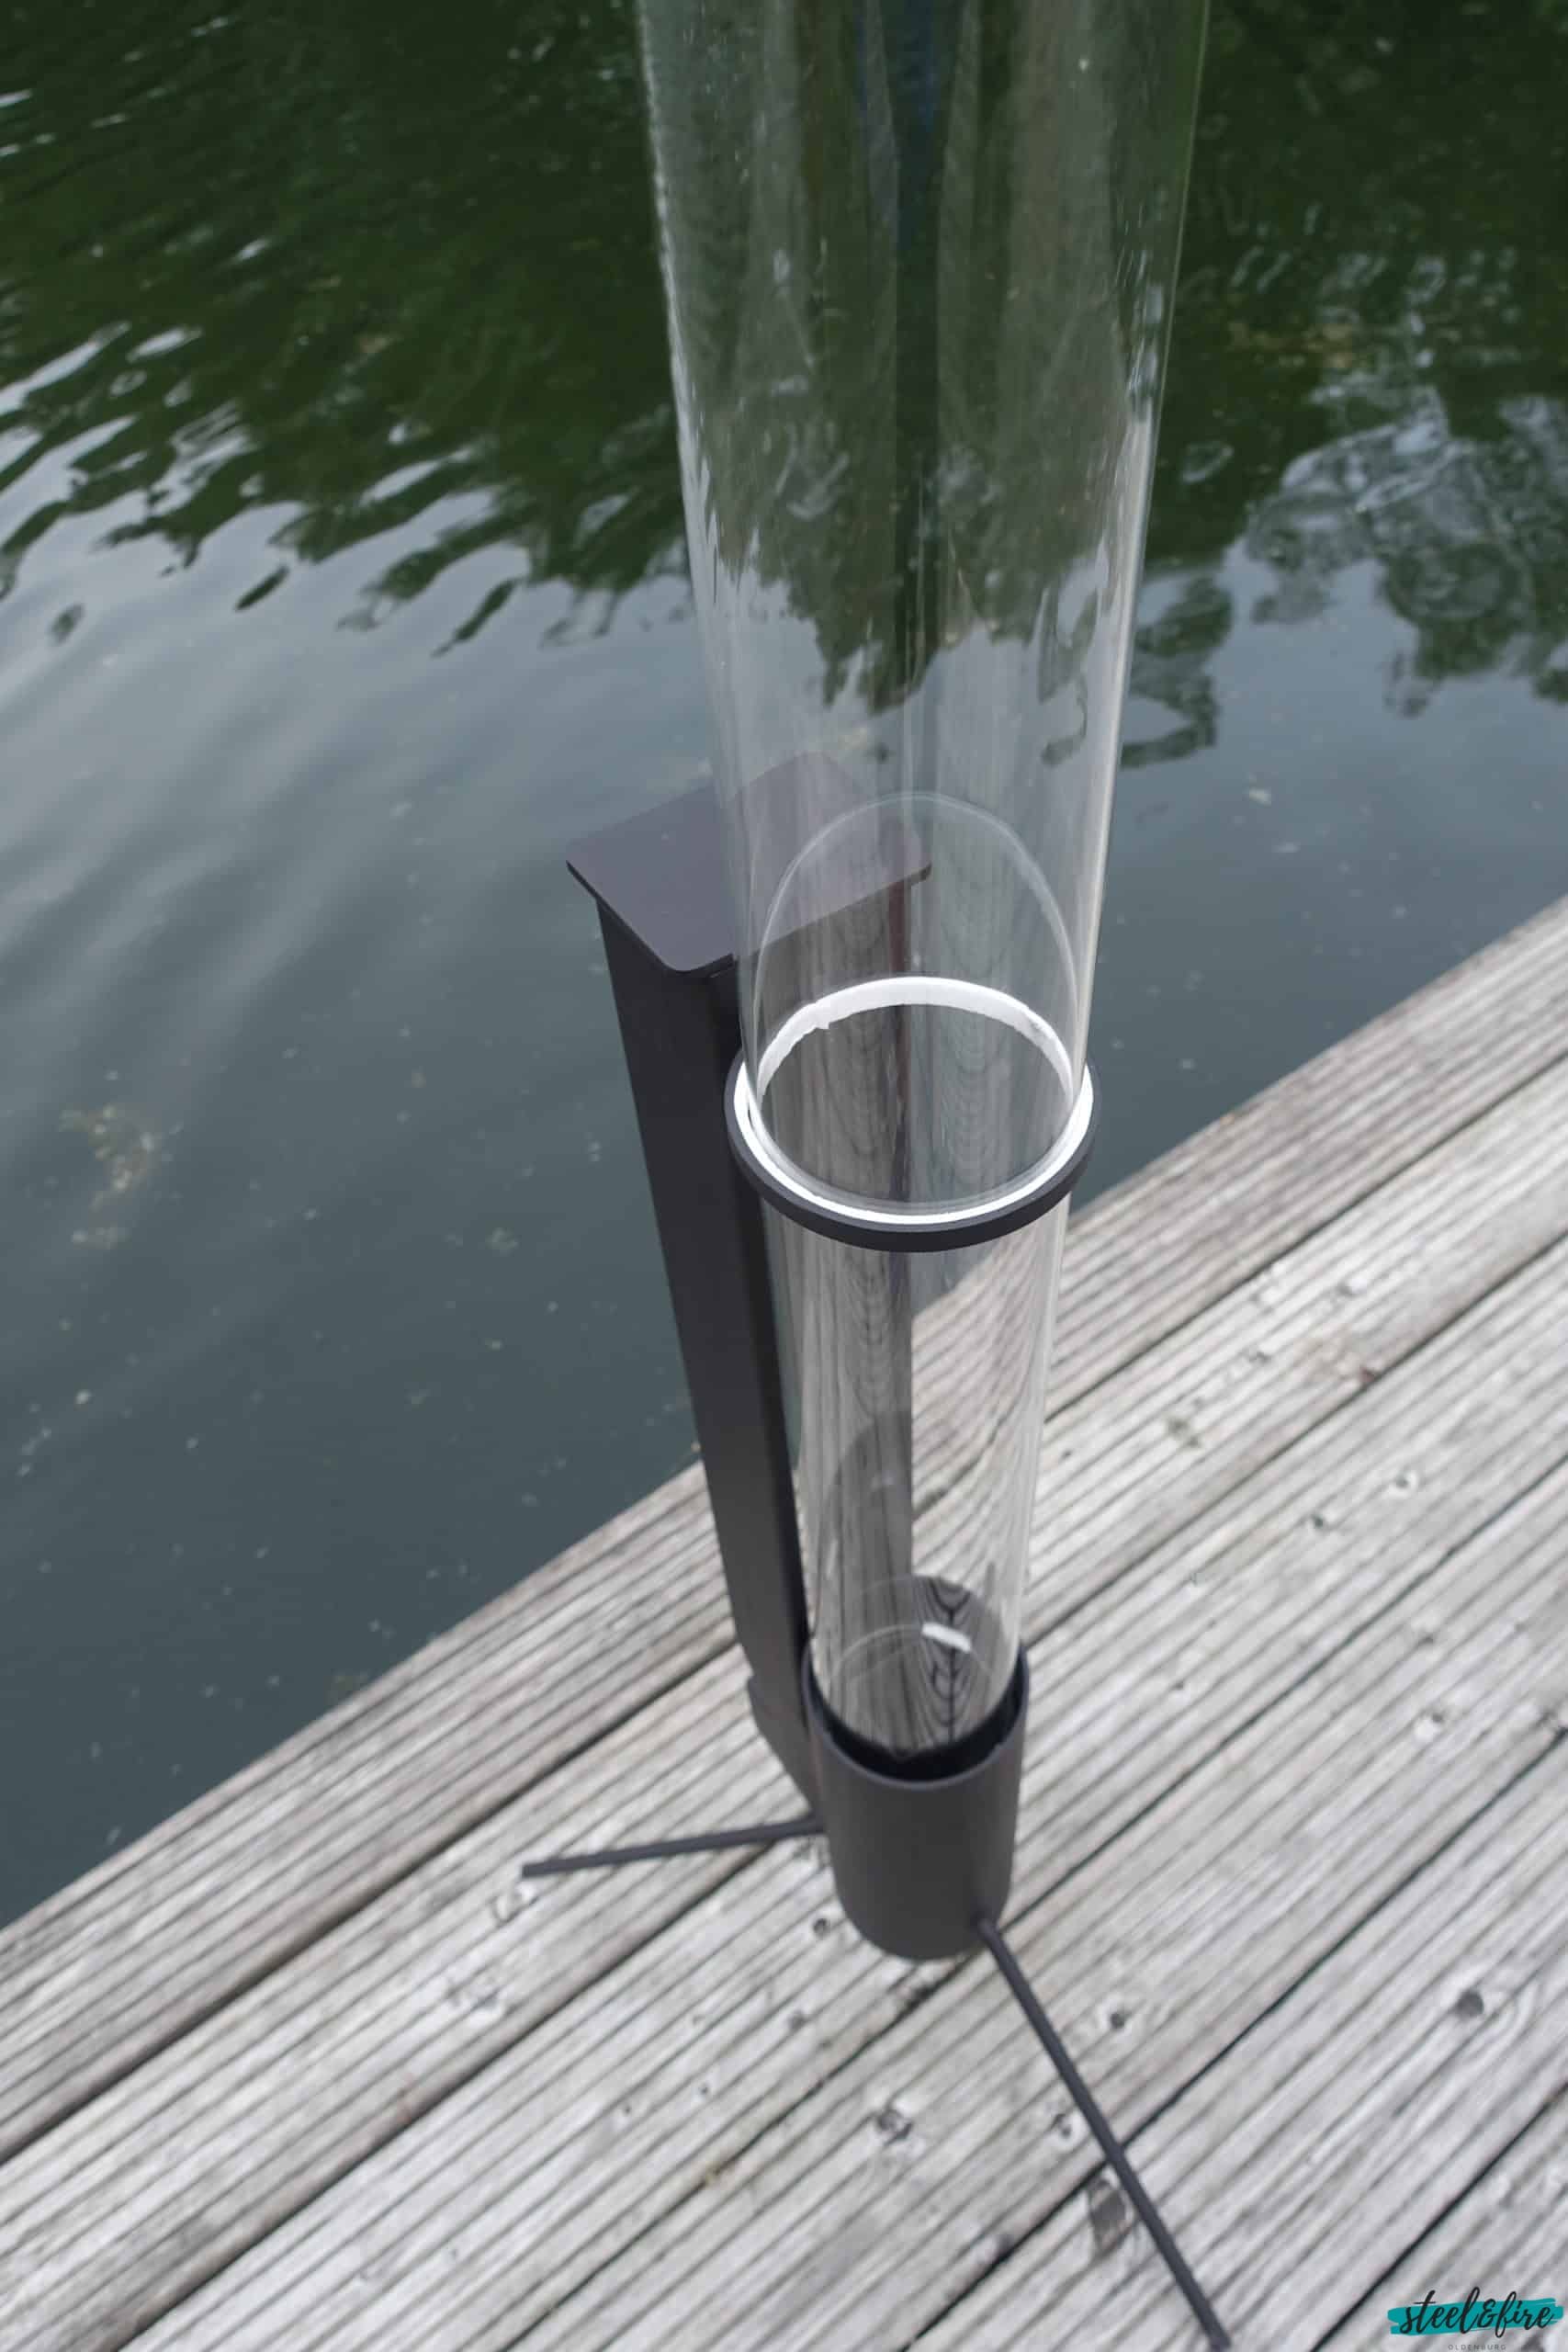
Das optimale Glasrohr für die Pelletfackel
Ein wichtiger Bestandteil der Pelletfackel ist das Glasrohr. Bis vor kurzem habe ich selbst Röhren im Shop angeboten. Leider kamen diese immer wieder zerbrochen beim Kunden an. Ich habe zwar immer wieder versucht, die Verpackung
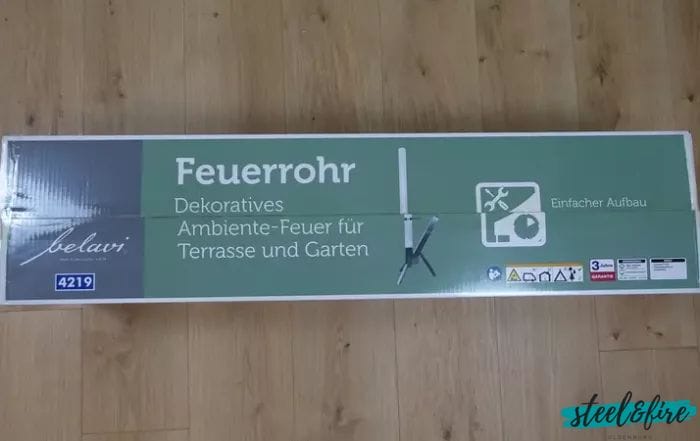
Aldi Feuerrohr von Belavi in Mini-Version
Am 23. November gab es das ALDI Feuerrohr, eine dekorative Pelletfackel für Garten oder Terasse, für 89,99€ in allen ALDI Nord Filialen zu erwerben. Ich habe das belavi Feuerrohr eher zufällig in den Regalen
Einkaufsliste für Pelletfackel
Wenn Sie von gemütlichen Abenden im Freien träumen und die wohlige Wärme eines Pelletfeuers genießen möchten, dann ist der Selbstbau einer Pelletfackel eine großartige Option. Mit den richtigen Materialien und einem Hauch von Kreativität können
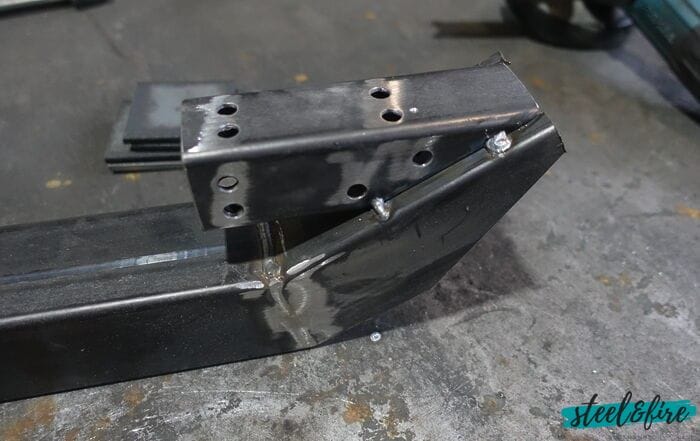
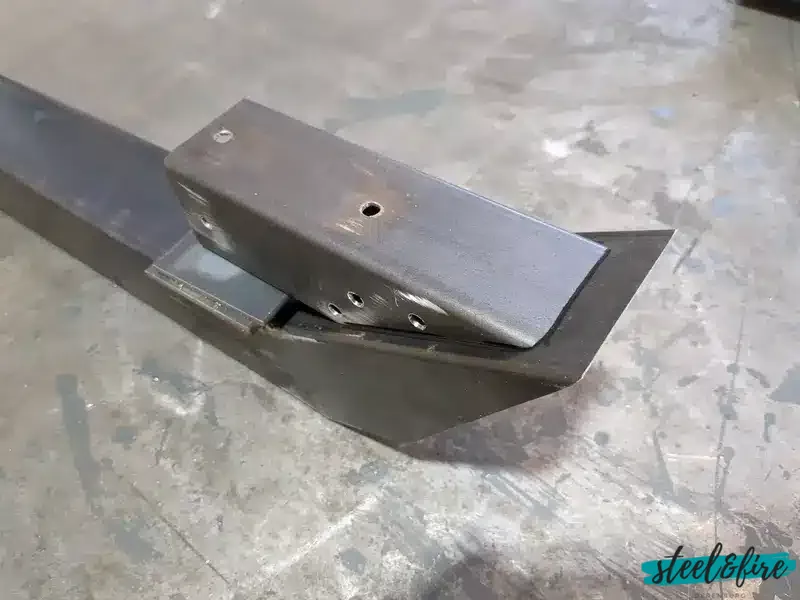
Pelletfackel Bauanleitung
Achtung: Wenn du den alten Bausatz hat, dann bist du hier richtig. Das erkennst du daran, dass das 80 x 3 mm Rechteckrohre im Bausatz enthalten sind. Wenn du 60 x 2 mm Rohre im
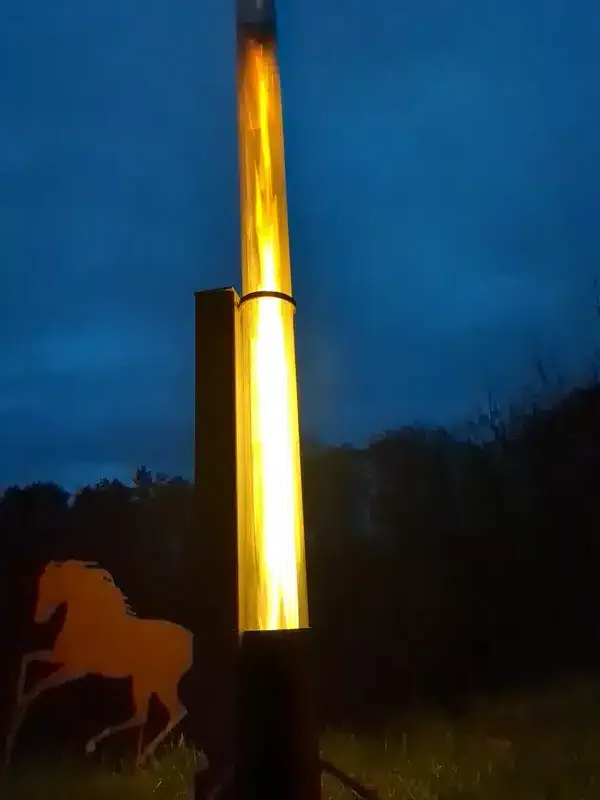
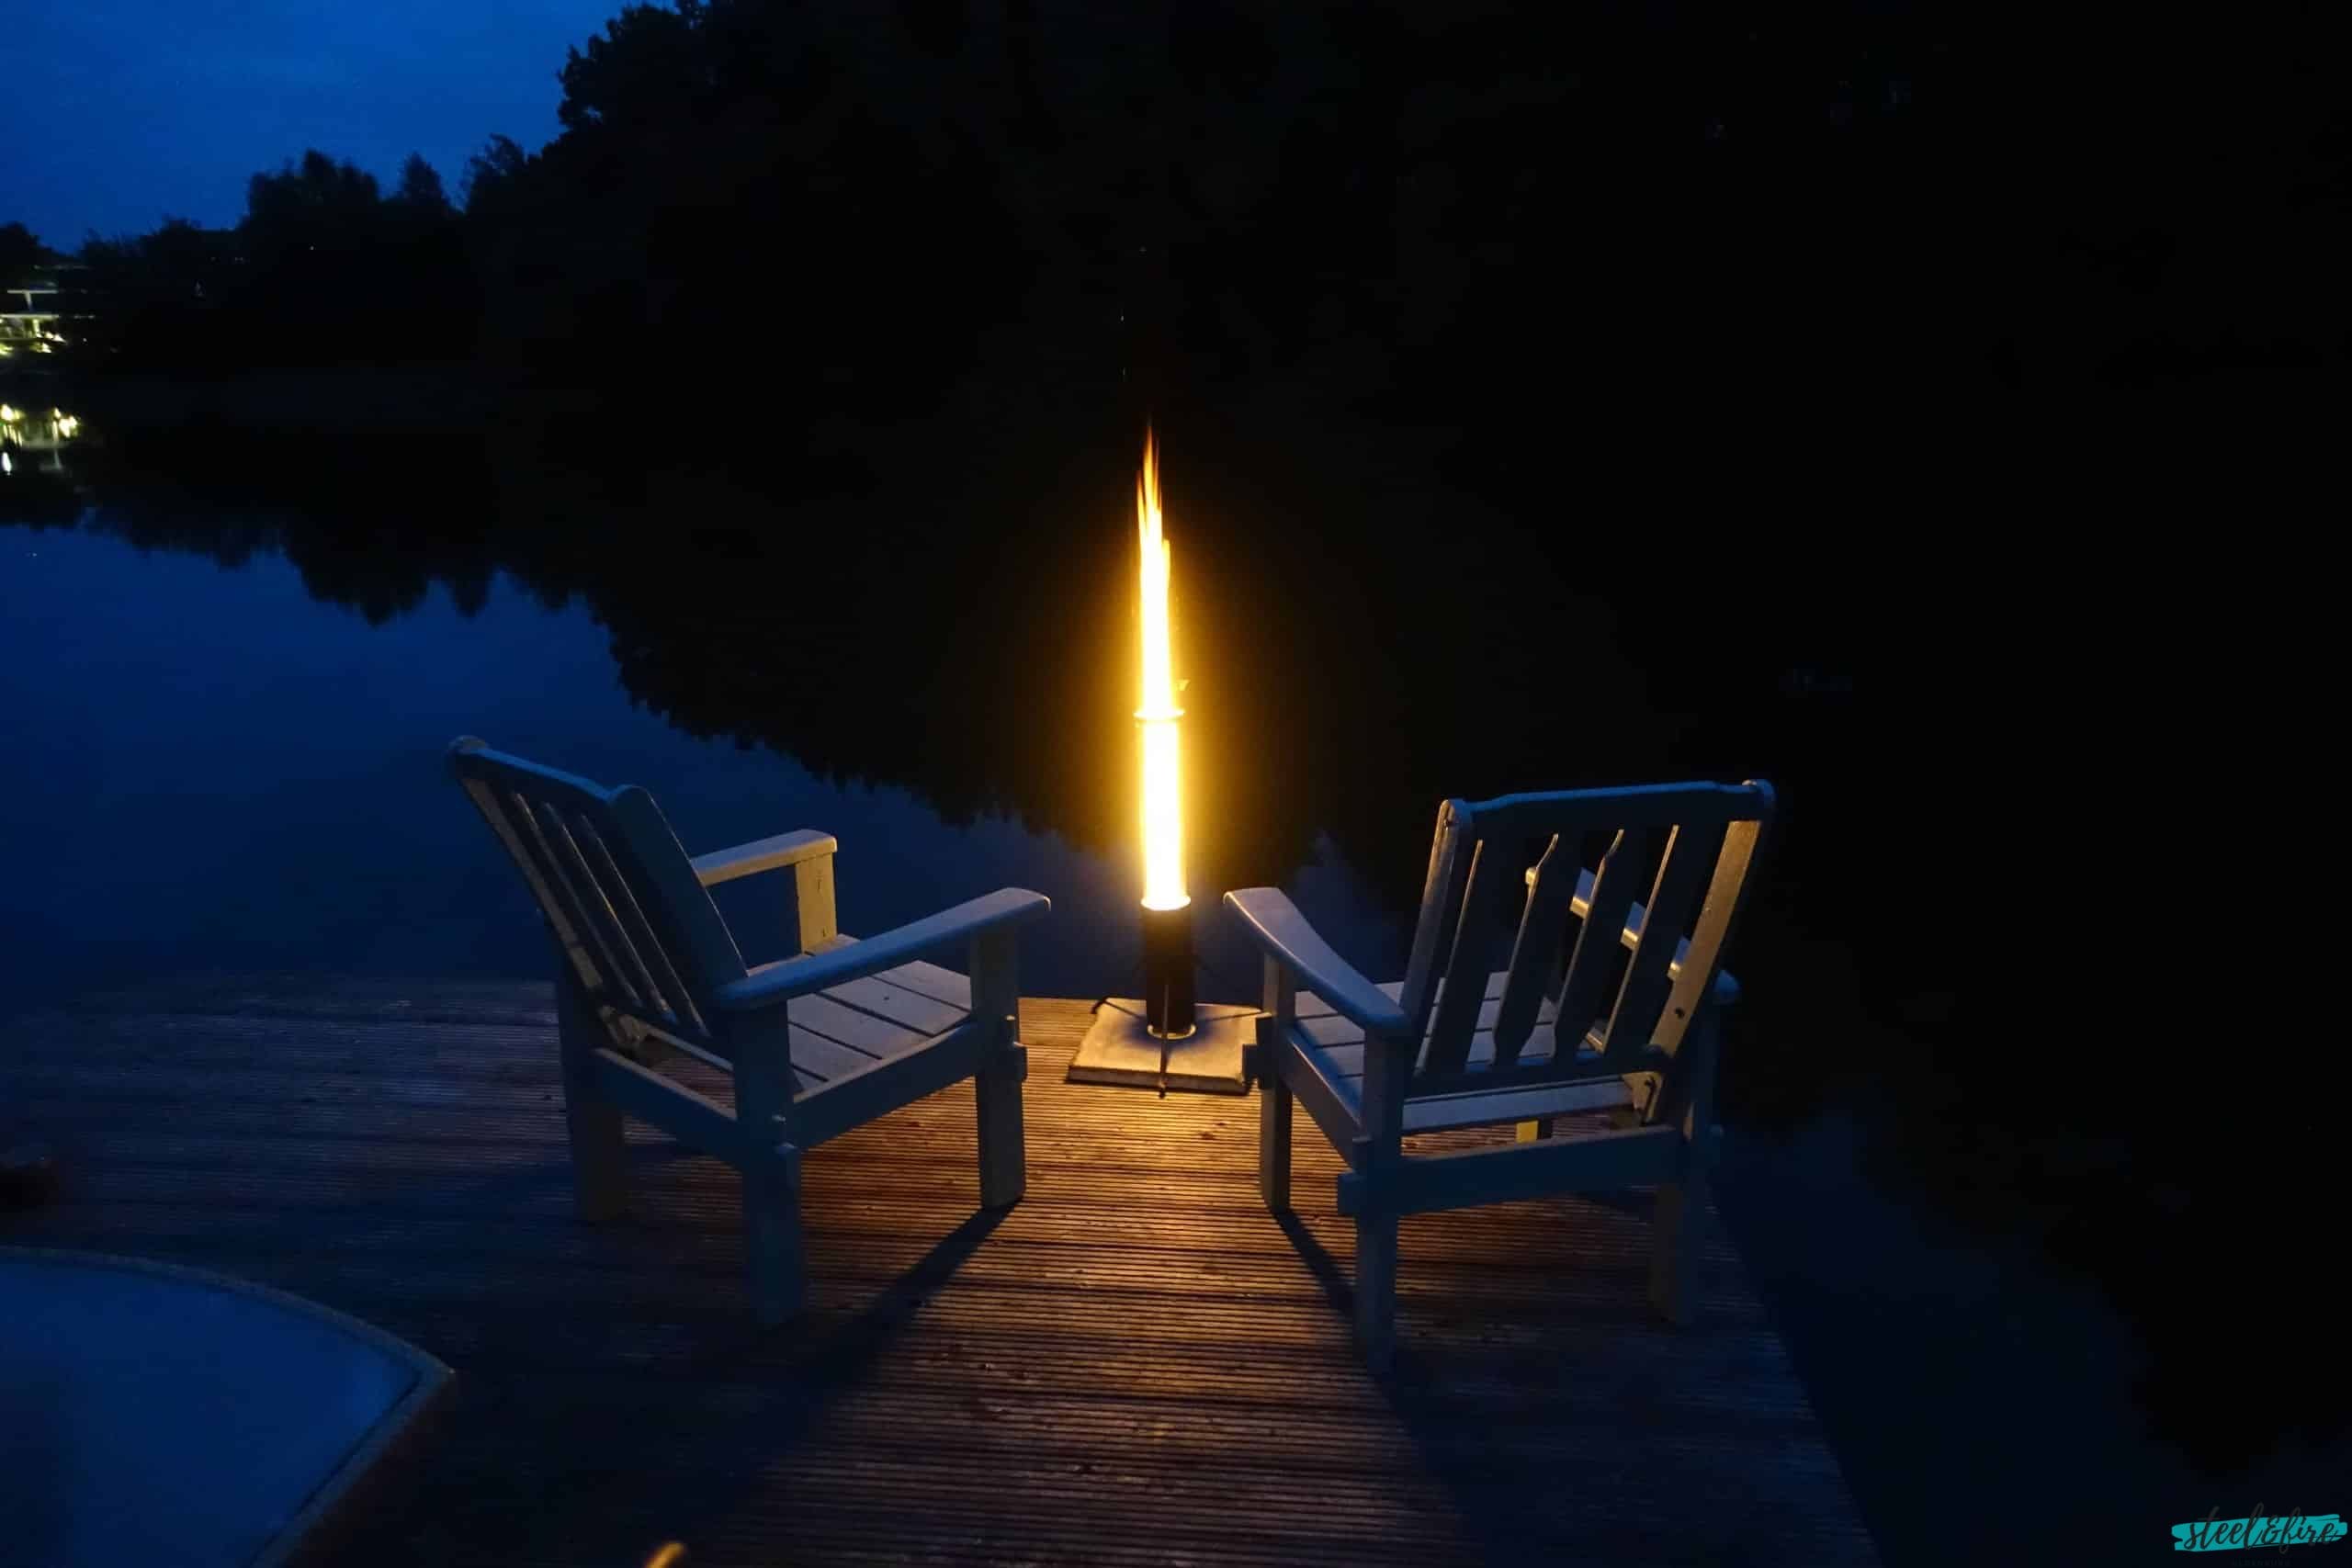
Impressionen


Häufige Fragen
Es ensteht nur sehr wenig Asche, um die man sich während des Betriebs nicht kümmern braucht. Die Reinigung kann erfolgen, wenn die Pelletfackel abgekühlt ist.
Nein, über das Einatmen von Rauch brauchen Sie sich gerne Gedanken machen. Während die Pellets verbrennen, sollte kein Rauch entstehen. Wenn es raucht, sollte nochmal ein Anzünder nachgelegt werden.
Das Glasrohr kann aus der Pelletfackel entnommen werden. Anschließend kann es mit einer verlängerten Bürste und klares Wasser gereinigt werden. Ein Reinigungsmittel ist meistens nicht erforderlich.
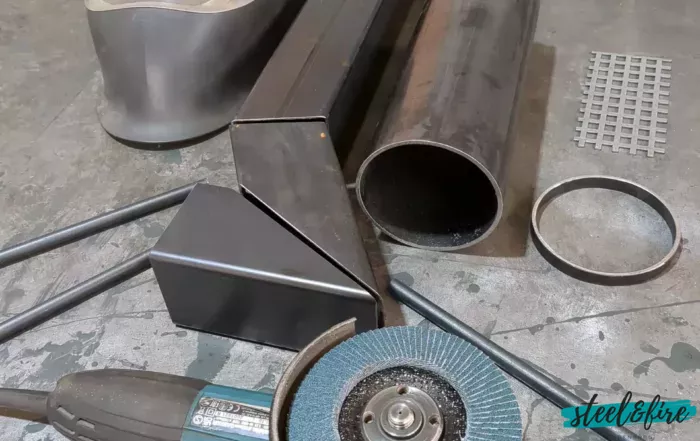
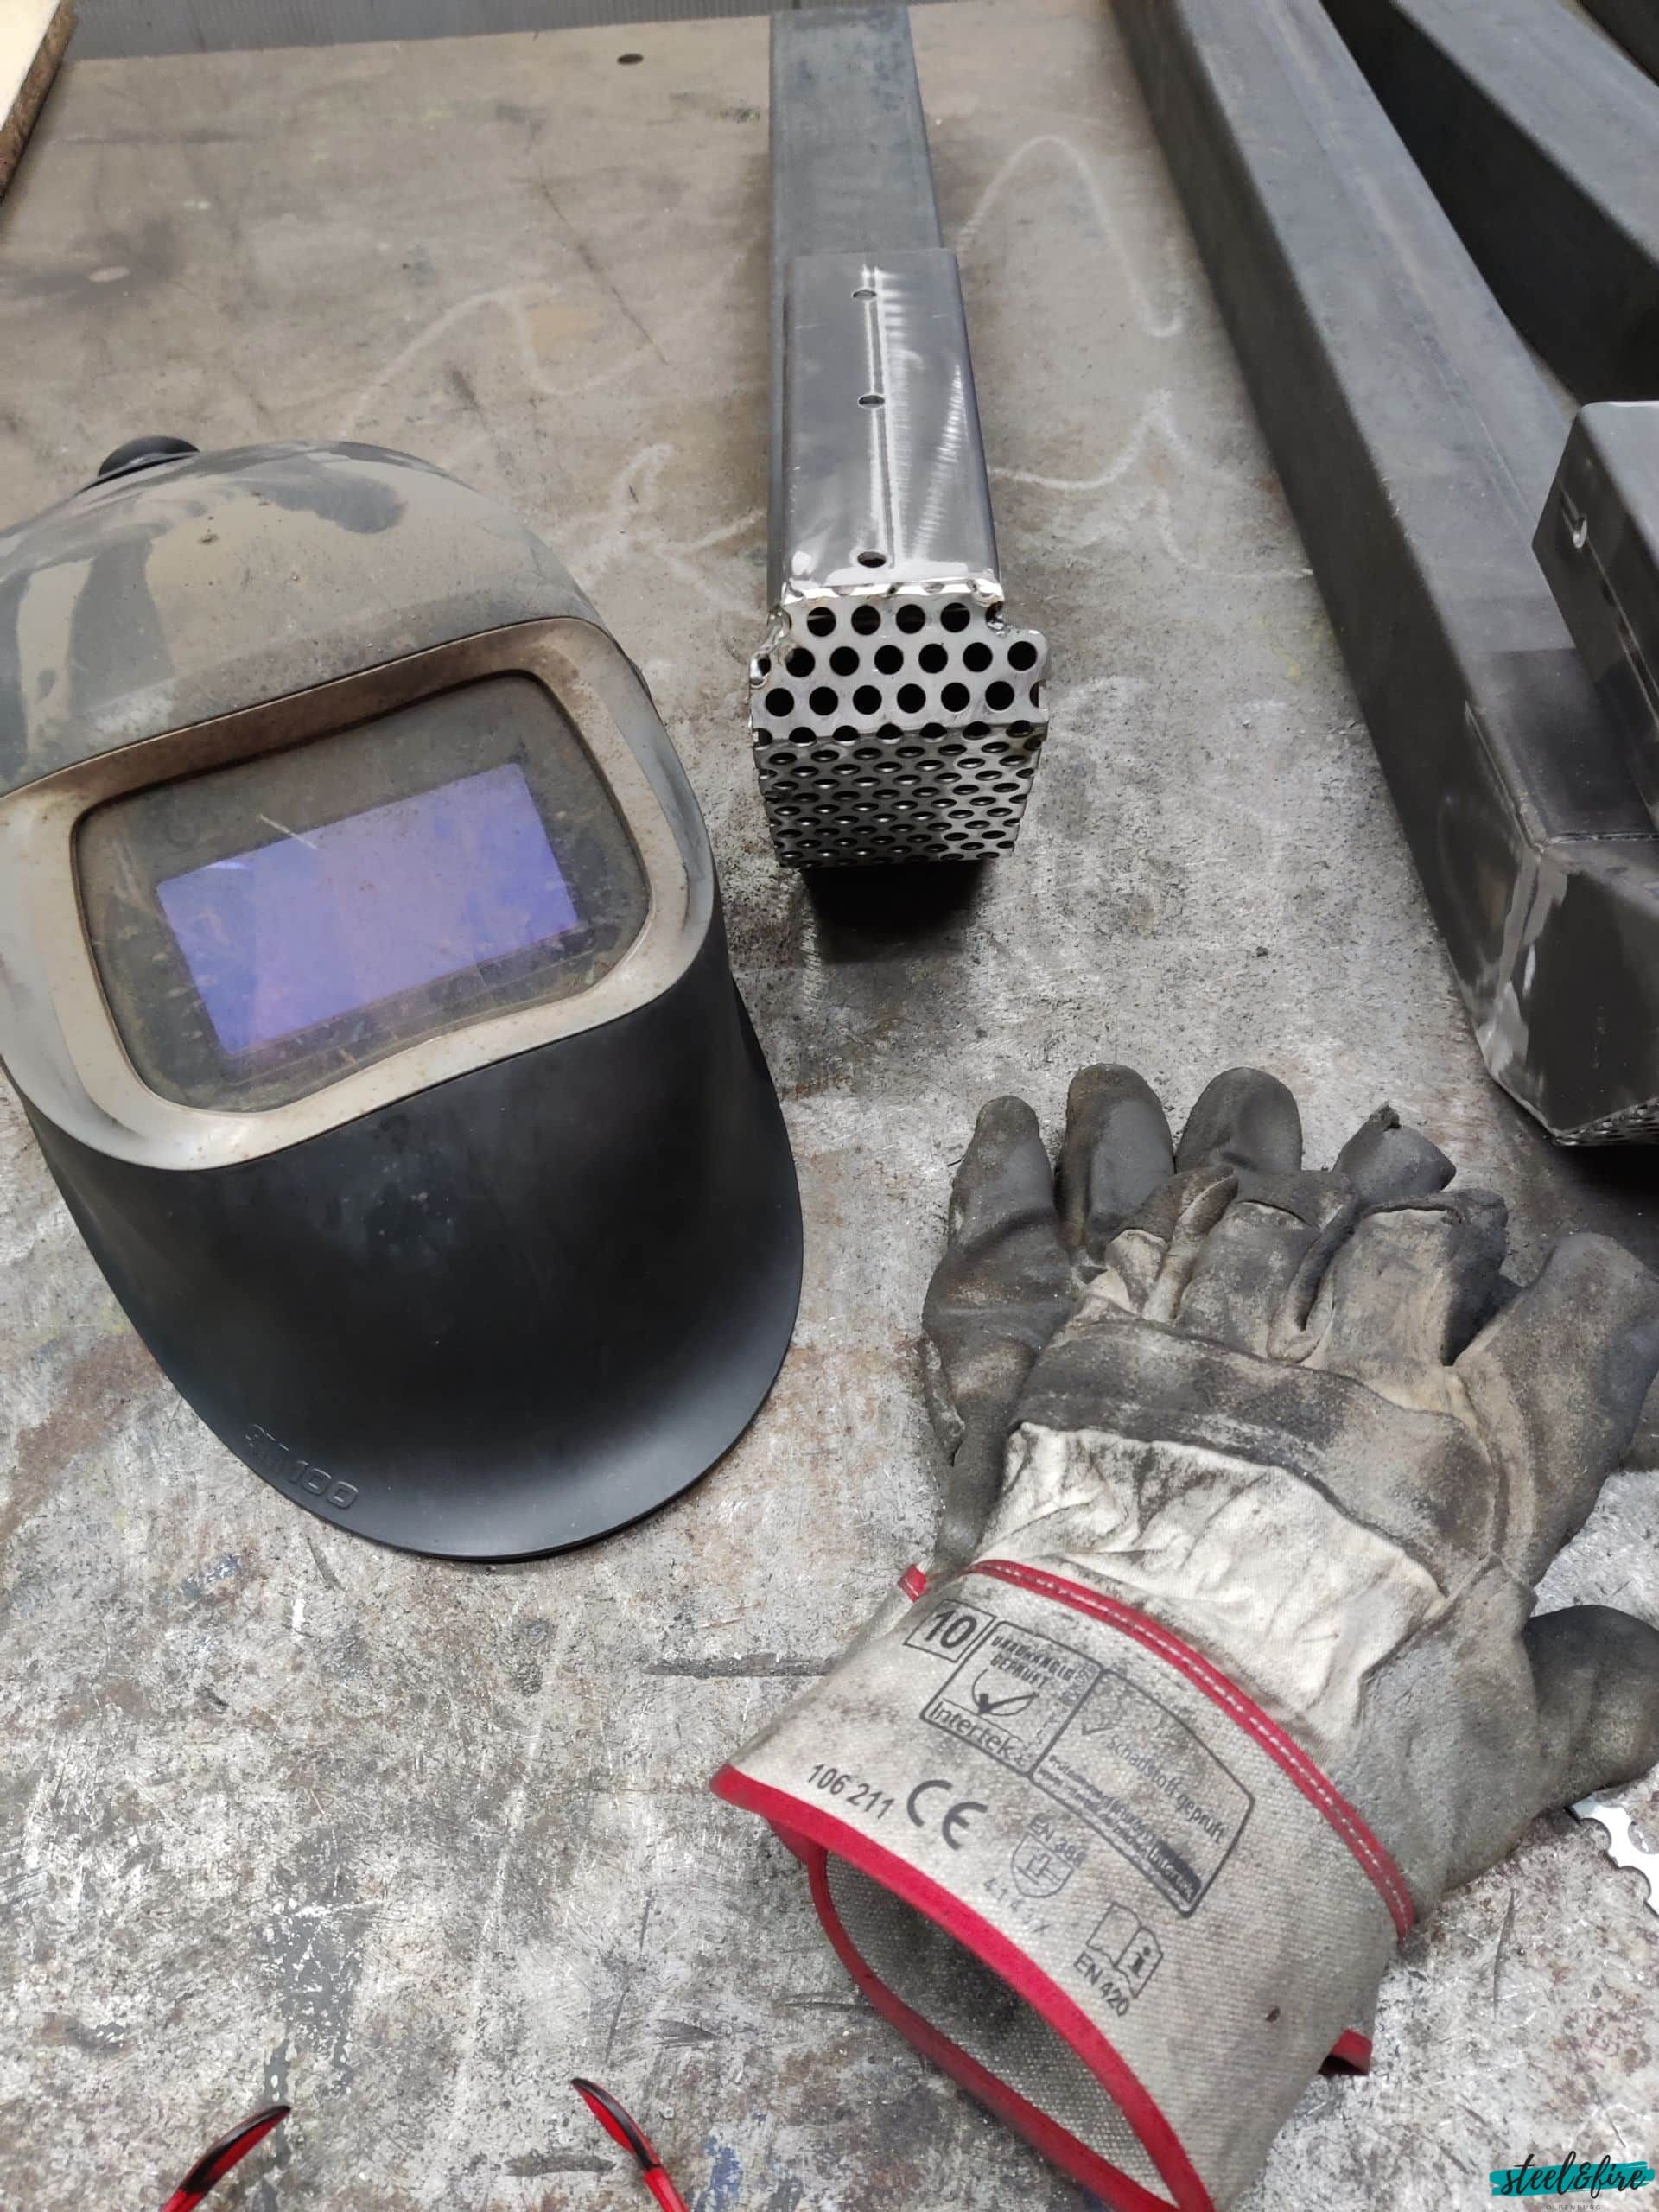
Für den Selbstbau wird benötigt:
- Schweißgerät, optimal MAG (Schutzgas), alternativ WIG oder E-Hand (Elektrode)
- Winkelschleifer inkl. Schruppscheibe oder Fächerscheibe
- Bohrmaschine mit 10mm Bohrer
- Ofendichtband
- Wenn lackiert werden soll, Lack
- Glasrohr feuerfest 100 mm Durchmesser. Länge zwischen 1000 und 1500 mm
Es sind alle Stahlteile enthalten, die für den Bau benötigt werden. Das Glasrohr, Ofendichtband und Lack ist nicht im Set enthalten.
Der Untergrund muss fest und feuerfest sein.
Technische Daten
Pelletfackeln sind eine moderne und umweltfreundliche Möglichkeit, im Freien wohlige Wärme zu erzeugen. Sie bieten eine komfortable Alternative zu herkömmlichen Feuerstellen und sind besonders in Gärten, auf Terrassen und im Außenbereich von Restaurants beliebt. Hier die technischen Daten einer typischen Pelletfackel im Detail:
- Brennstoff: Die Pelletfackel verwendet Holzpellets mit einem Durchmesser von 6 mm. Am besten aus naturbelassenem Buchenholz. Diese Pellets sind eine nachhaltige Wahl, da sie aus nachwachsendem Holz hergestellt werden und geringe CO2-Emissionen verursachen.
- Heizleistung: Die Pelletfackel hat eine Heizleistung von ca. 4 kW. Das reicht aus, um im Umkreis der Fackel eine angenehme Wärme zu erzeugen und so eine gemütliche Atmosphäre zu schaffen.
- Brenndauer: Mit einem vollen Tank kann die Pelletfackel ca. 1,5 Stunden brennen. Das reicht für viele Veranstaltungen im Freien und sorgt für eine lang anhaltende Wärmequelle. Der Startvorgang dauert ca. 20 Minuten.
- Abmessungen: Die Pelletfackel hat eine Höhe von ca. 1,7 m. Diese Größe ermöglicht es, die Wärme in einer angenehmen Höhe zu genießen und ist daher ideal für Sitzbereiche im Freien.
- Gewicht: Mit Glasrohr wiegt das self-made Feuerrohr ca. 15 kg, ohne Glasrohr nur 10 kg. Das geringere Gewicht ohne Glasrohr macht den Transport und die Handhabung besonders einfach.
Sie sind eine umweltfreundliche Alternative zu herkömmlichen Gas- oder Holzkohleheizungen im Freien, da sie erneuerbare Energiequellen nutzen und nahezu rauchfrei sind. Der Einsatz von Pelletfackeln trägt nicht nur zum Heizen im Freien bei, sondern schafft auch eine gemütliche Atmosphäre für gesellige Zusammenkünfte und romantische Abende im Freien. Mit ihren praktischen technischen Eigenschaften sind Pelletfackeln eine attraktive Option für alle, die die Wärme und den Charme eines offenen Kamins genießen möchten.
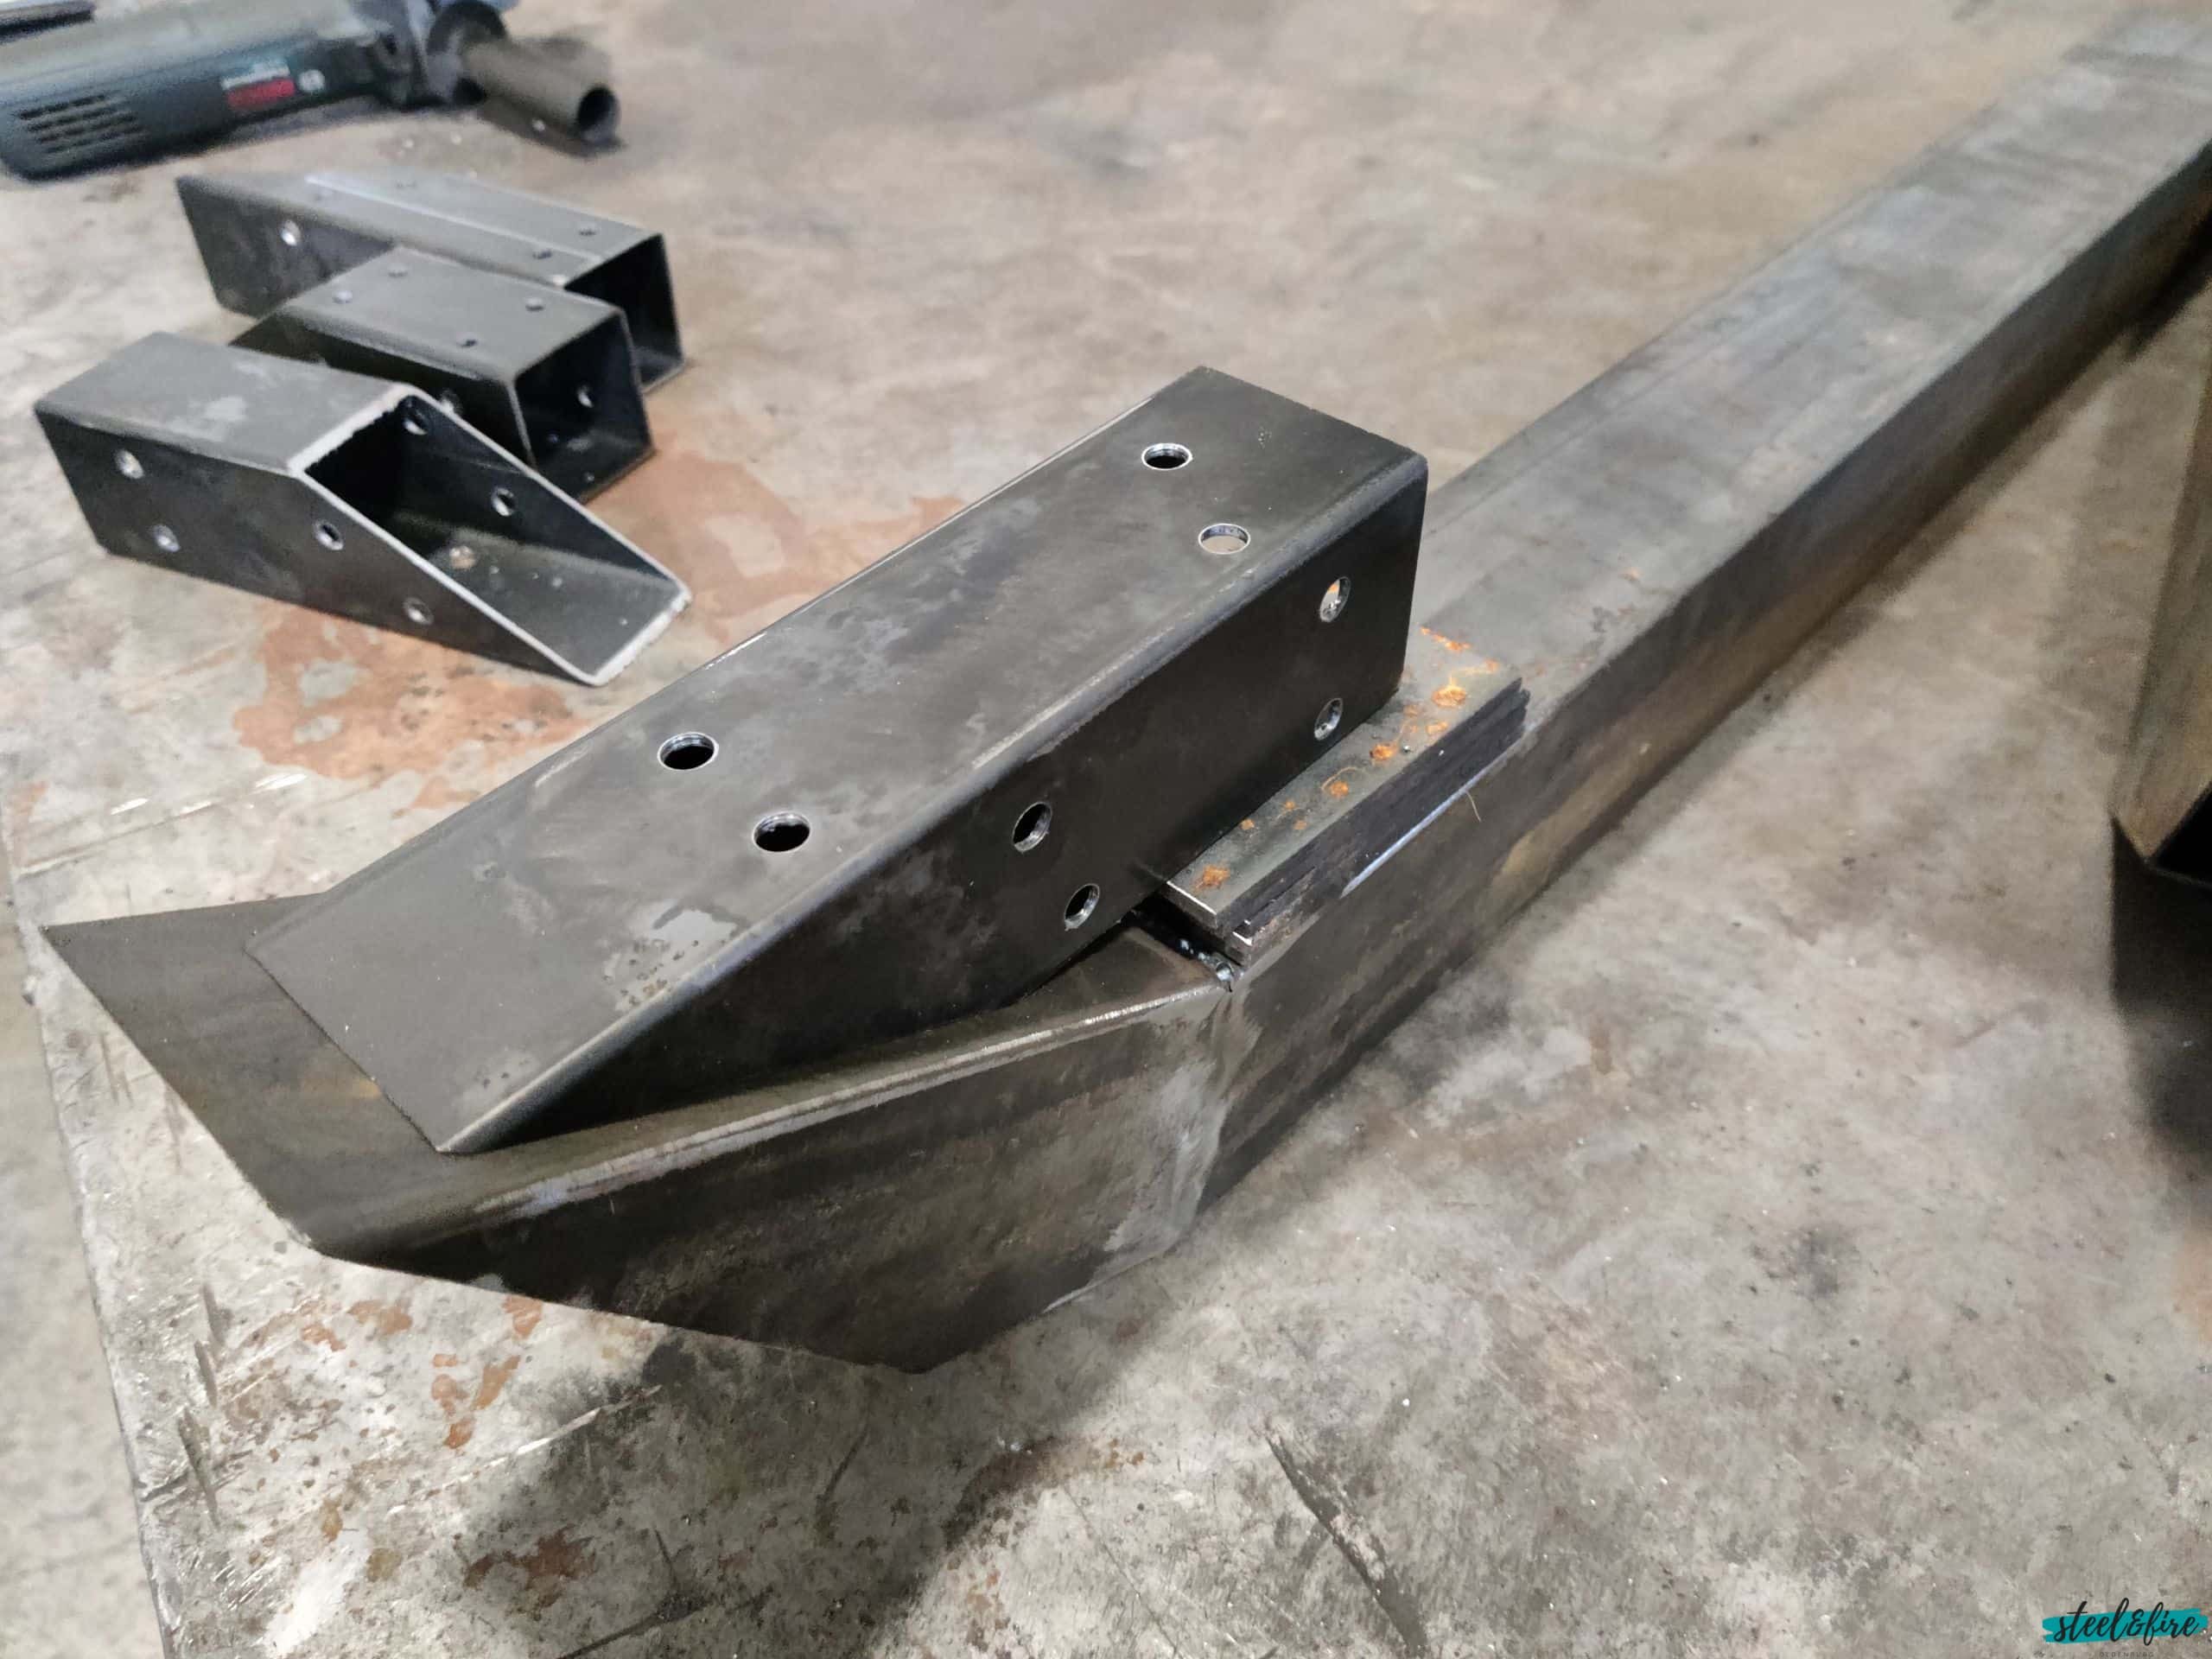
Pelletfackel / Feuerrohr für Selbermacher
Selbstgemachte Dinge sind die Besten! Falls du ein erweitertes Werkzeugsortiment besitzt, biete ich einen Bausatz an, um sich eine eigene Pelletfackel zu bauen.
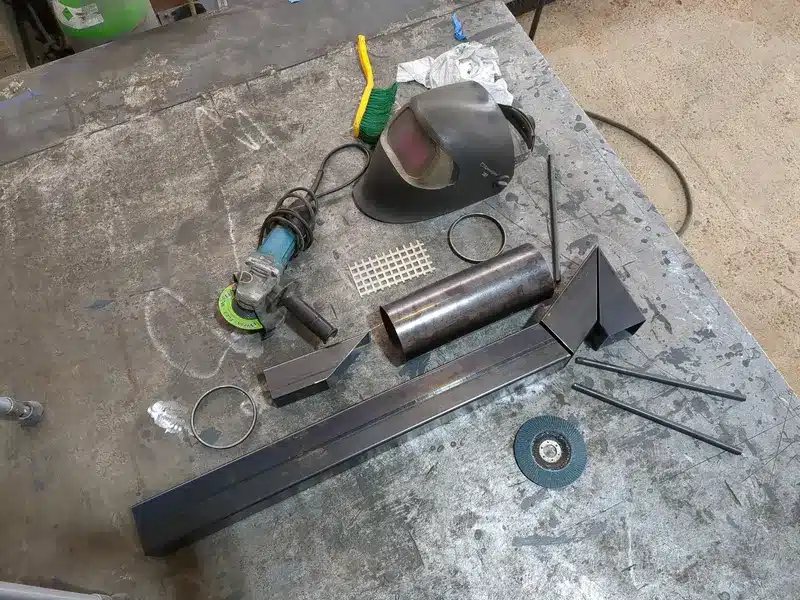
Benötigt für Feuerrohr selber bauen:
- Schweißgerät MAG oder Elektrode
- Bohrmaschine mit 10mm Bohrer
- Winkelschleifer mit Trennscheibe und Schleifscheibe
- Filzstift
- Maßband
- Schraubzwinge
- Schutzausrüstung
Außerdem wird benötigt, da nicht im Lieferumfang enthalten:
- Ofendichtband
- Ofenlack
- Etwas handwerkliches Geschick :)
Für den Bau stelle ich eine Pelletfackel Bauanleitung zu Verfügung. Diese findest du hier.

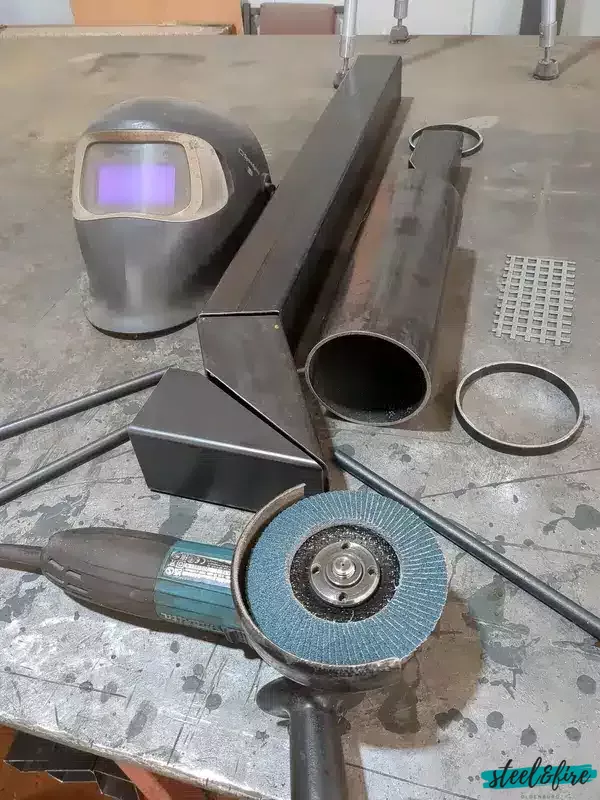
Erwecken Sie Ihren Garten oder Ihre Terrasse mit dem Pellet Fackel-Set zum Leben. Dieser hochwertige Fackel-Bausatz ist die perfekte Kit für alle Hobby-Schweißer, sei es für gemütliche Abende im Freien oder für Partys zu jeder Jahreszeit . Der Bausatz enthält alles, was Sie brauchen, um Ihre eigene, atemberaubende Pellet Fackel zu bauen.
Sie müssen nur noch das Glasrohr und das Ofendichtband kaufen! Der Pellet Fackel-Bausatz zeichnet sich durch seine hochwertige Stahlkonstruktion aus. Dies garantiert nicht nur eine lange Lebensdauer, sondern auch eine hohe Witterungsbeständigkeit, so dass die Fackel das ganze Jahr über den Elementen trotzt. Dank ihres schlanken, modernen Designs ist sie nicht nur funktional, sondern auch ästhetisch ansprechend und wird zweifellos zu einem Blickfang in jedem Außenbereich .
Das Kit wird mit einer ausführlichen Videoanleitung geliefert, die auch den unerfahrensten Hobby-Schweißer , mit den richtigem Werkzeug, Schritt für Schritt durch den Aufbau führt. Die Anleitung ist einfach zu befolgen und macht den Bau der Pellet Fackel zu einem unterhaltsamen und lohnenden Projekt, das in kürzester Zeit fertiggestellt werden kann. Mit diesem Bausatz haben Sie die volle Kontrolle über das Endergebnis und können stolz darauf sein, Ihre eigene Fackel gebaut zu haben.
Im Gegensatz zu traditionellen Feuerstellen erzeugt das Feuerrohr weniger Rauch und ist somit umweltfreundlicher. Sie brennt mit Holzpellets, die aus Restholz hergestellt werden. Das macht sie zu einer klimafreundlichen Option – ideal für alle, die ihren CO2-Fußabdruck reduzieren möchten. Die Fackel bietet eine saubere, effiziente und nachhaltige Art der Beleuchtung, ohne auf die Atmosphäre und Wärme eines traditionellen Feuers zu verzichten.